Manage Manually Added Signals
Investigations include signals you add manually or through assignment rules to complement your analyses.
For more information about how to assign signals to an investigation, see Assign Signals to Investigations.
From an investigation, you can:
View Manually Added Signals
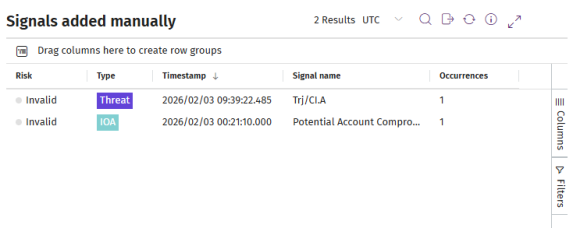
To view signals you added manually or through assignment rules, go to the Signals added manually panel.
-
To modify the list view and quickly find signals of your interest, see List Configuration Tools.
-
For more information about the fields in the Signals added manually panel, see Fields in the Signals List.
Move Signals from One Investigation to Another
-
In the Signals added manually panel, select the check boxes for the signals you want to move. A toolbar appears.
-
In the toolbar, click Move to another investigation
 . The Select an investigation dialog box opens.
 -
To configure the list view, see List Configuration Tools.
-
Select the check box for the investigation you want to move the signals to.
-
Click OK. The signals are removed from the current investigation and assigned to the selected investigation.
Move Signals to a New Investigation
-
In the Signals added manually panel, select the check boxes for the signals you want to move. A toolbar appears.
-
In the toolbar, click Move to new investigation
. The signals are removed from the current investigation, a new investigation is created, and the signals are assigned to the new investigation.
Remove Signals from an Investigation
-
In the Signals added manually panel, select the check boxes for the signals you want to remove from the investigation. A toolbar appears.
-
In the toolbar, click Remove from this investigation
Use Investigation or Remediation Tools
Cytomic Orion includes tools to analyze the events included in a signal.
-
In the Signals added manually panel, select the check box for the signal you want to analyze. A toolbar appears.
-
Select a tool:
-
Investigate computer
 : Opens the investigation console and shows the events included in the signal. See Analyses Using the Investigation Console.
 -
OSQuery query
 : Get information about the hardware and software installed on the computer where the signal was detected. See IT Infrastructure Investigation with OSQuery.
 -
Automated investigation
 : Opens a notebook to investigate the signal. See Investigations with Notebooks.
 -
Assisted investigation
: Opens the investigation wizard. See Assisted Investigations. -
Computer details
 : Shows information about the computer. See Computer Details.
-
Add Automatic Deletion Rules
For more information, see Automatically Delete Signals.
To prevent Cytomic Orion from showing signals that you determine to be unimportant, create an automatic deletion rule:
-
In the Signals added manually panel, select the check box for the signal you wan to use as the base for the signal deletion rule. Make sure you select only one signal. A toolbar appears.
-
In the toolbar, click Add automatic deletion rule
 . The Add automatic deletion rule dialog box opens and shows a series of preset criteria based on the selected signal.
 -
For more information about the fields in the list, see Meaning of List Fields.
-
In the Name text box, type a new name for the rule.
-
In the Description text box, type a description of the rule (optional).
-
To set the deletion criteria, see Configure Criteria for Signal Deletion Rules.
-
Click Do not detect again. The deletion rule is created and begins moving new signals that meet the criteria defined in the rule to the recycle bin.
Add Entities of Interest
-
In the Signals added manually panel, select the check box for the signal you want to add an entity of interest to. A toolbar appears.
-
Select Add entity of interest
 . The Add entity of interest dialog box opens.
 -
Click the Type drop-down list. A list opens and shows the available types of entities of interest. See Types of Entities.
-
In the Entity text box, type the necessary information for the entity. To add a Computer entity, see Add Computer Entities.
-
Click Add. If the information is valid, the console adds the entry to the list of entities with the
 icon. This icon indicates that the entity was added manually.